
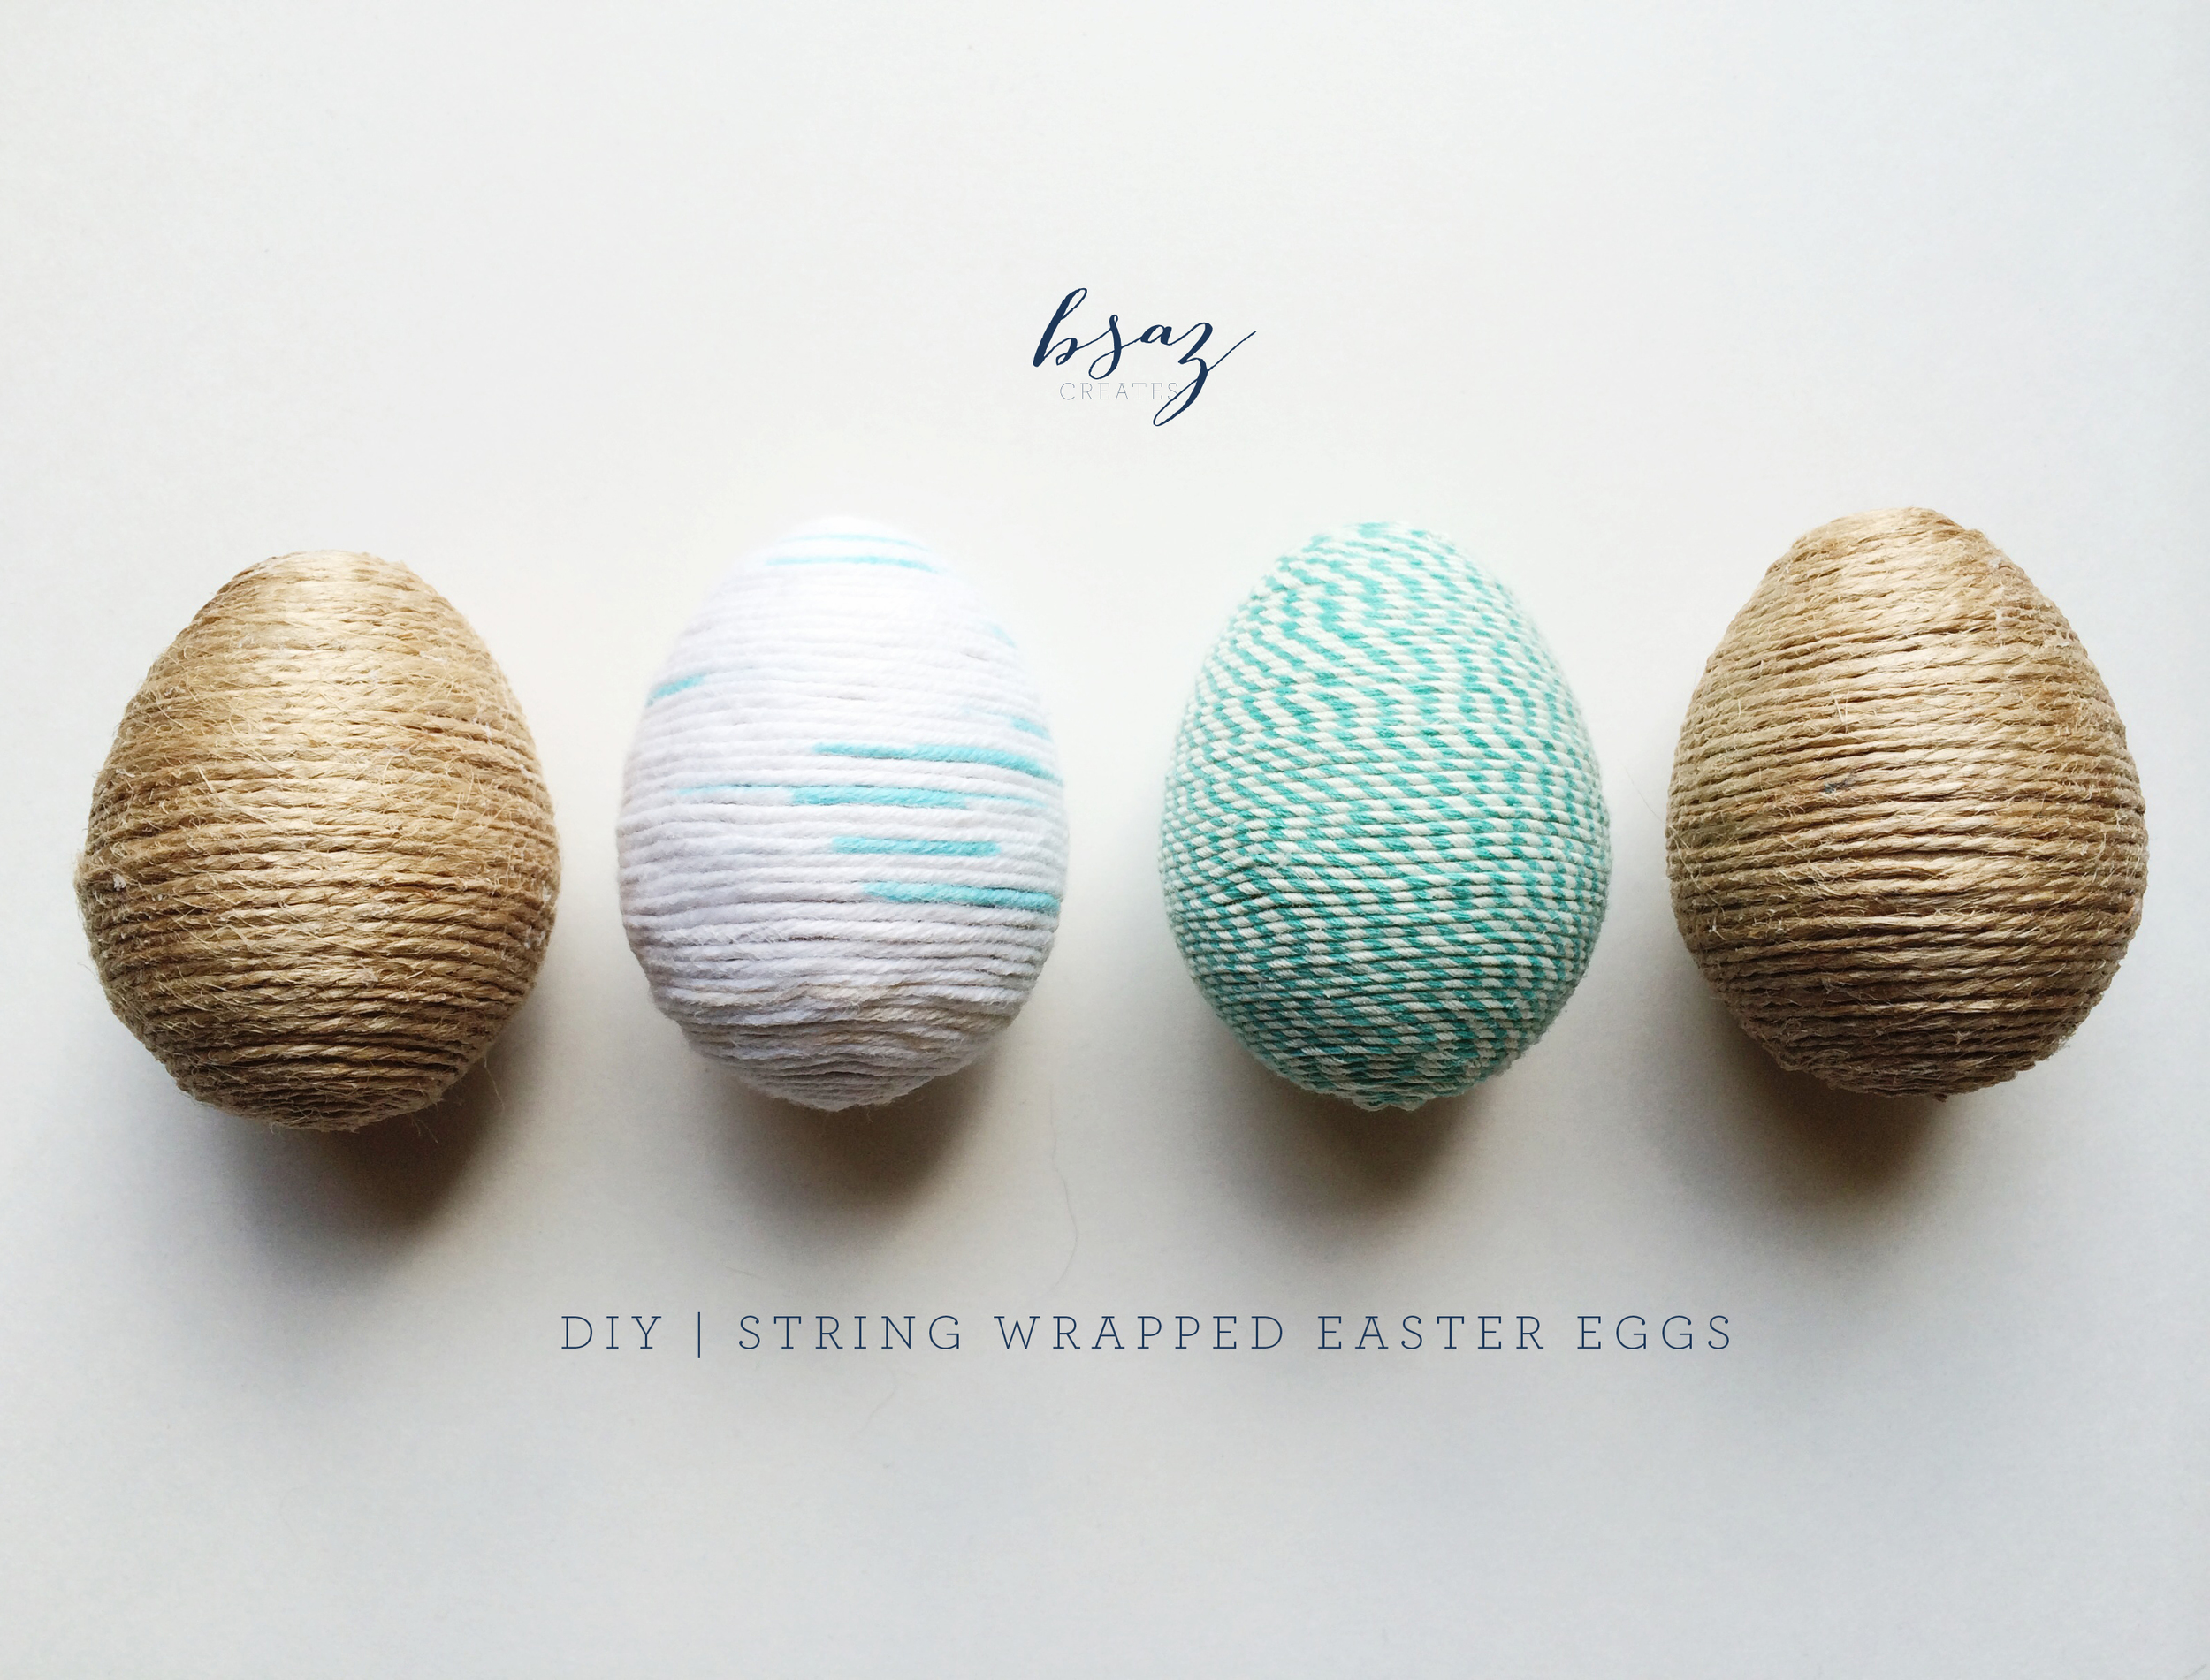
For the past few years, our Easter egg dying has been a complete mess. I blame it on the off-balance of our apartment...because without fail, our eggs have managed to humpty-dumpty themselves right off the table and on to the floor. More than once. Unfortunately, much like the original tale, no amount of the King's horses (or men) could save those disasters. Sooo, I got smart this year and opted for craft-worthy paper mâché eggs instead. Now we're talkin! I LOVE how these turned out!
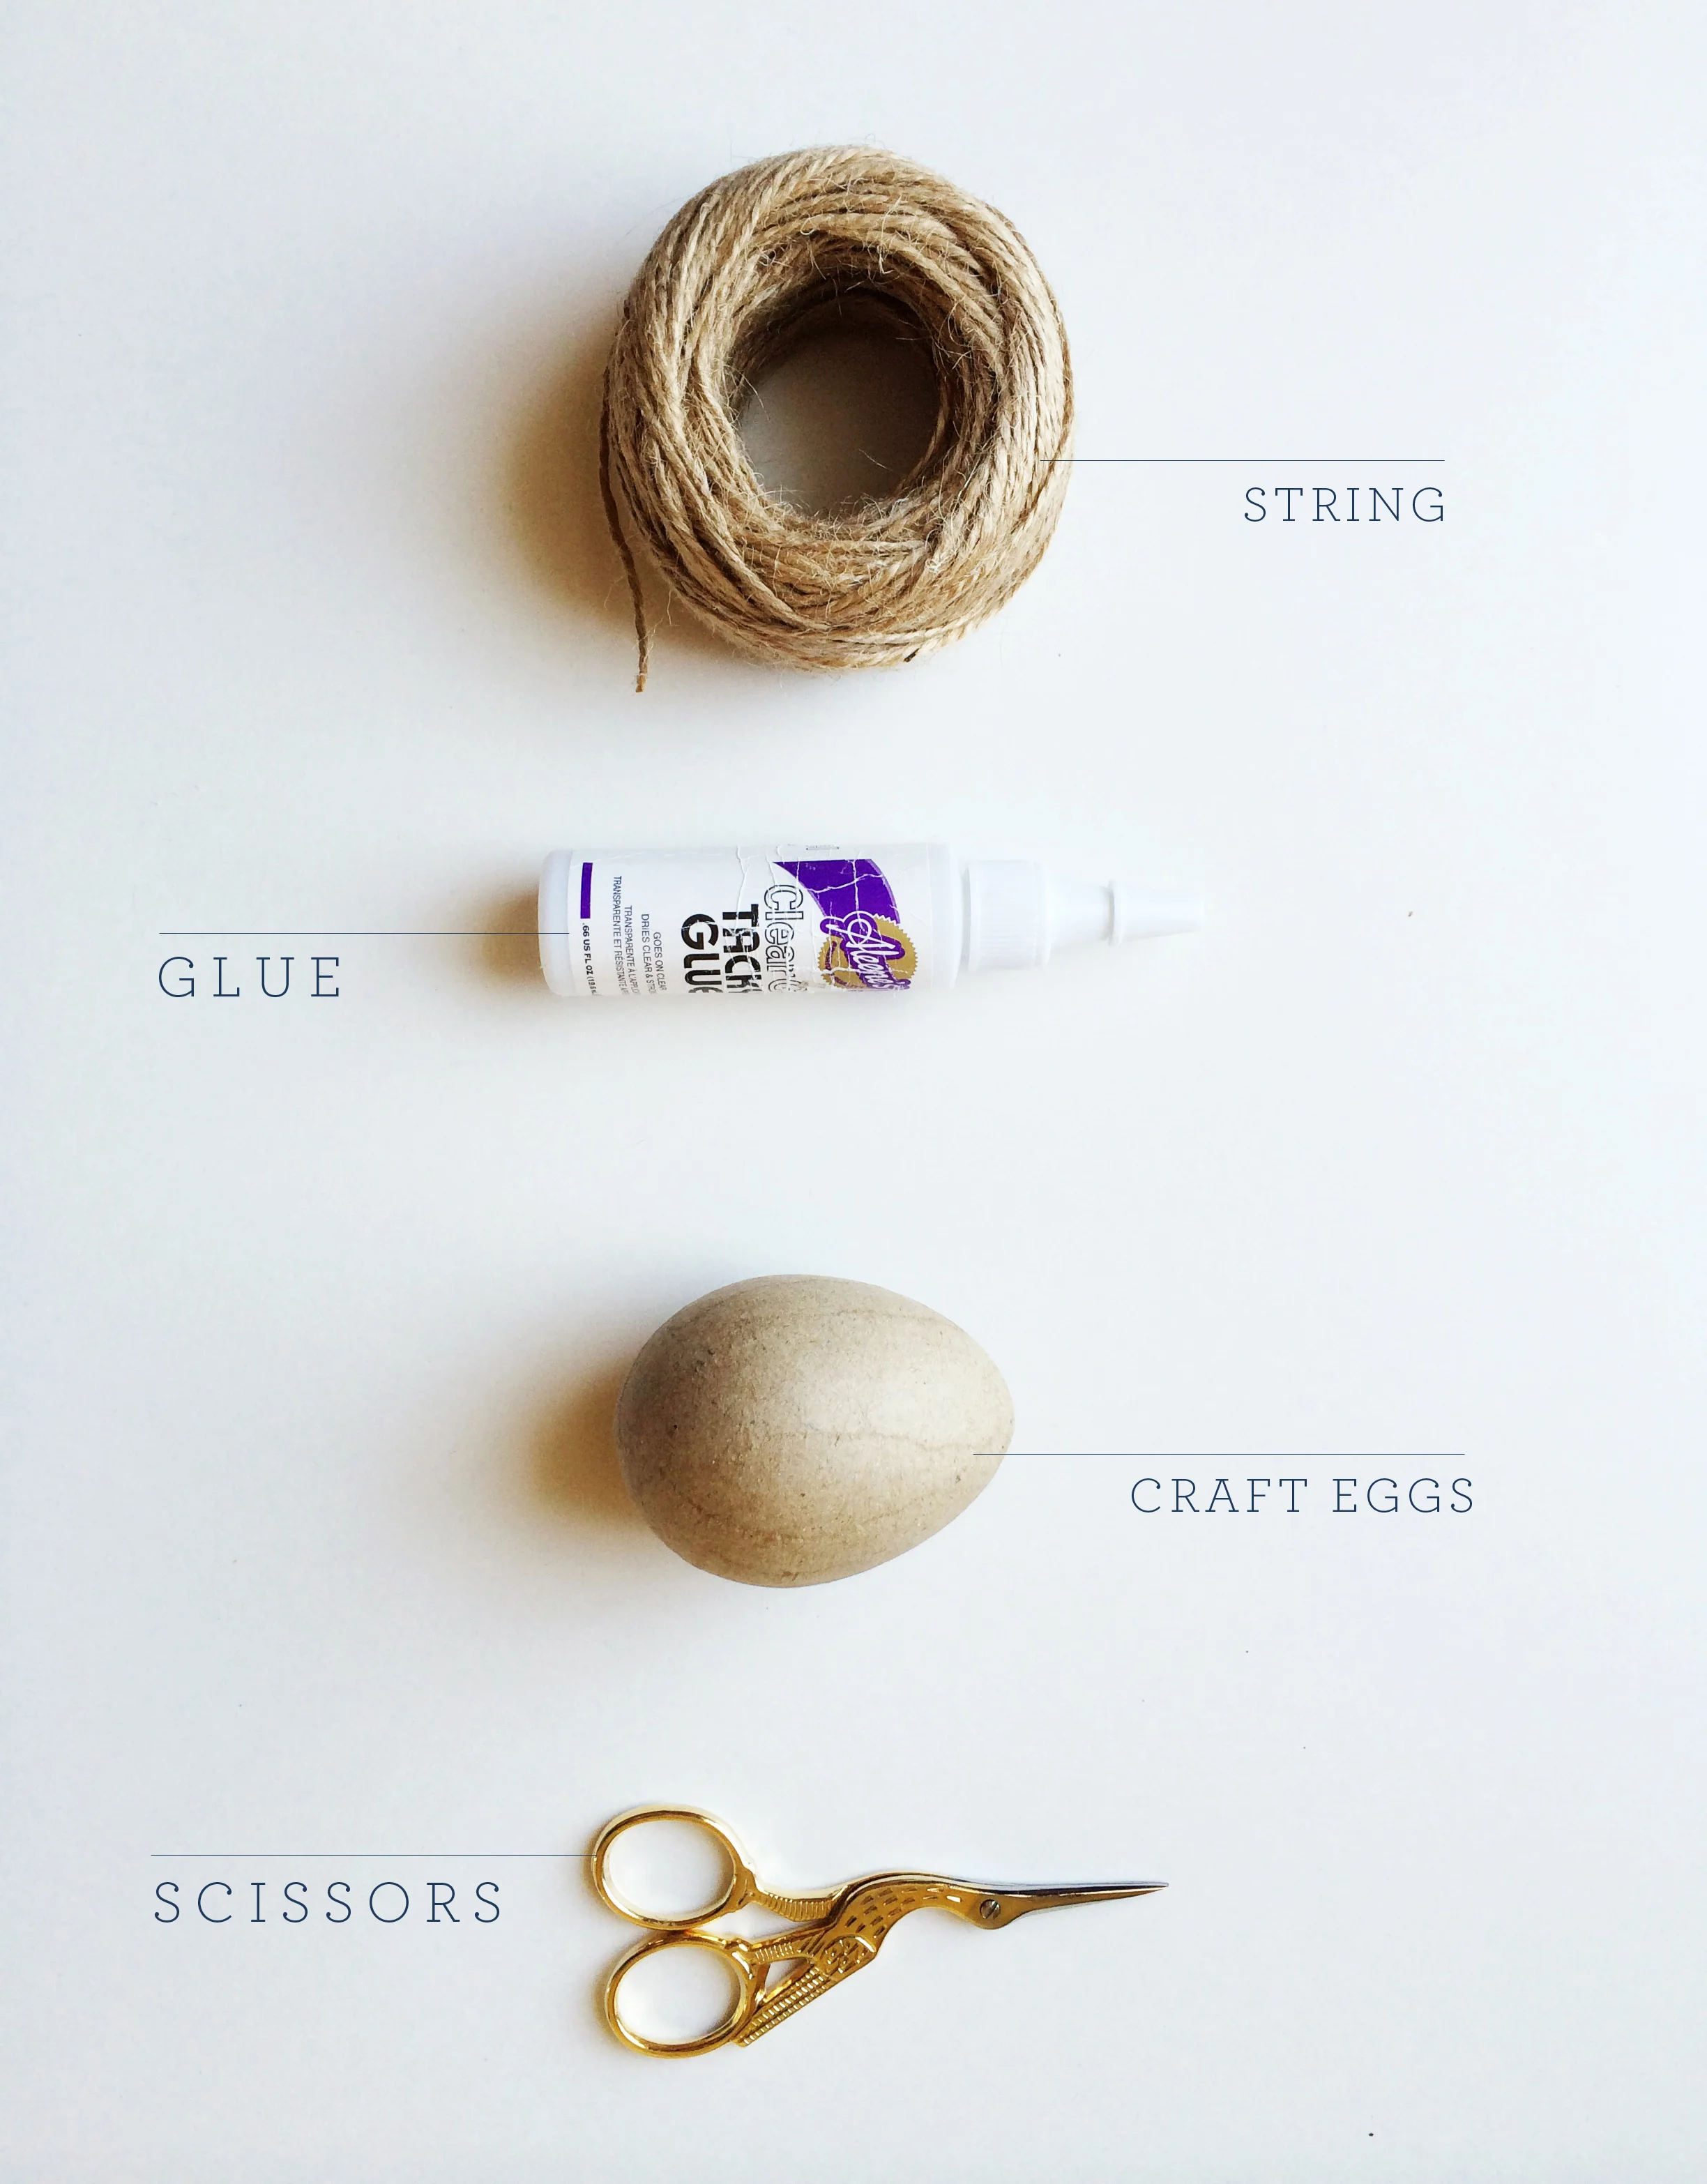
Though this project does tend to leave you with glue covered fingers, the over-all process is pretty darn simple. The first step is to adhere the end of the string to the tip of the egg. This will be the point that you will essentially be starting the wrap spiral, so let it dry before trying to start wrapping or it will move. Getting it as centered at the tip as possible is what will keep it consistent from top to bottom. I used a variety of strings here (jute/hemp, bakers twine, and yarn), so play around! I got really lucky with the color spotted yarn that I snagged from Tuesday Morning for $2- win.
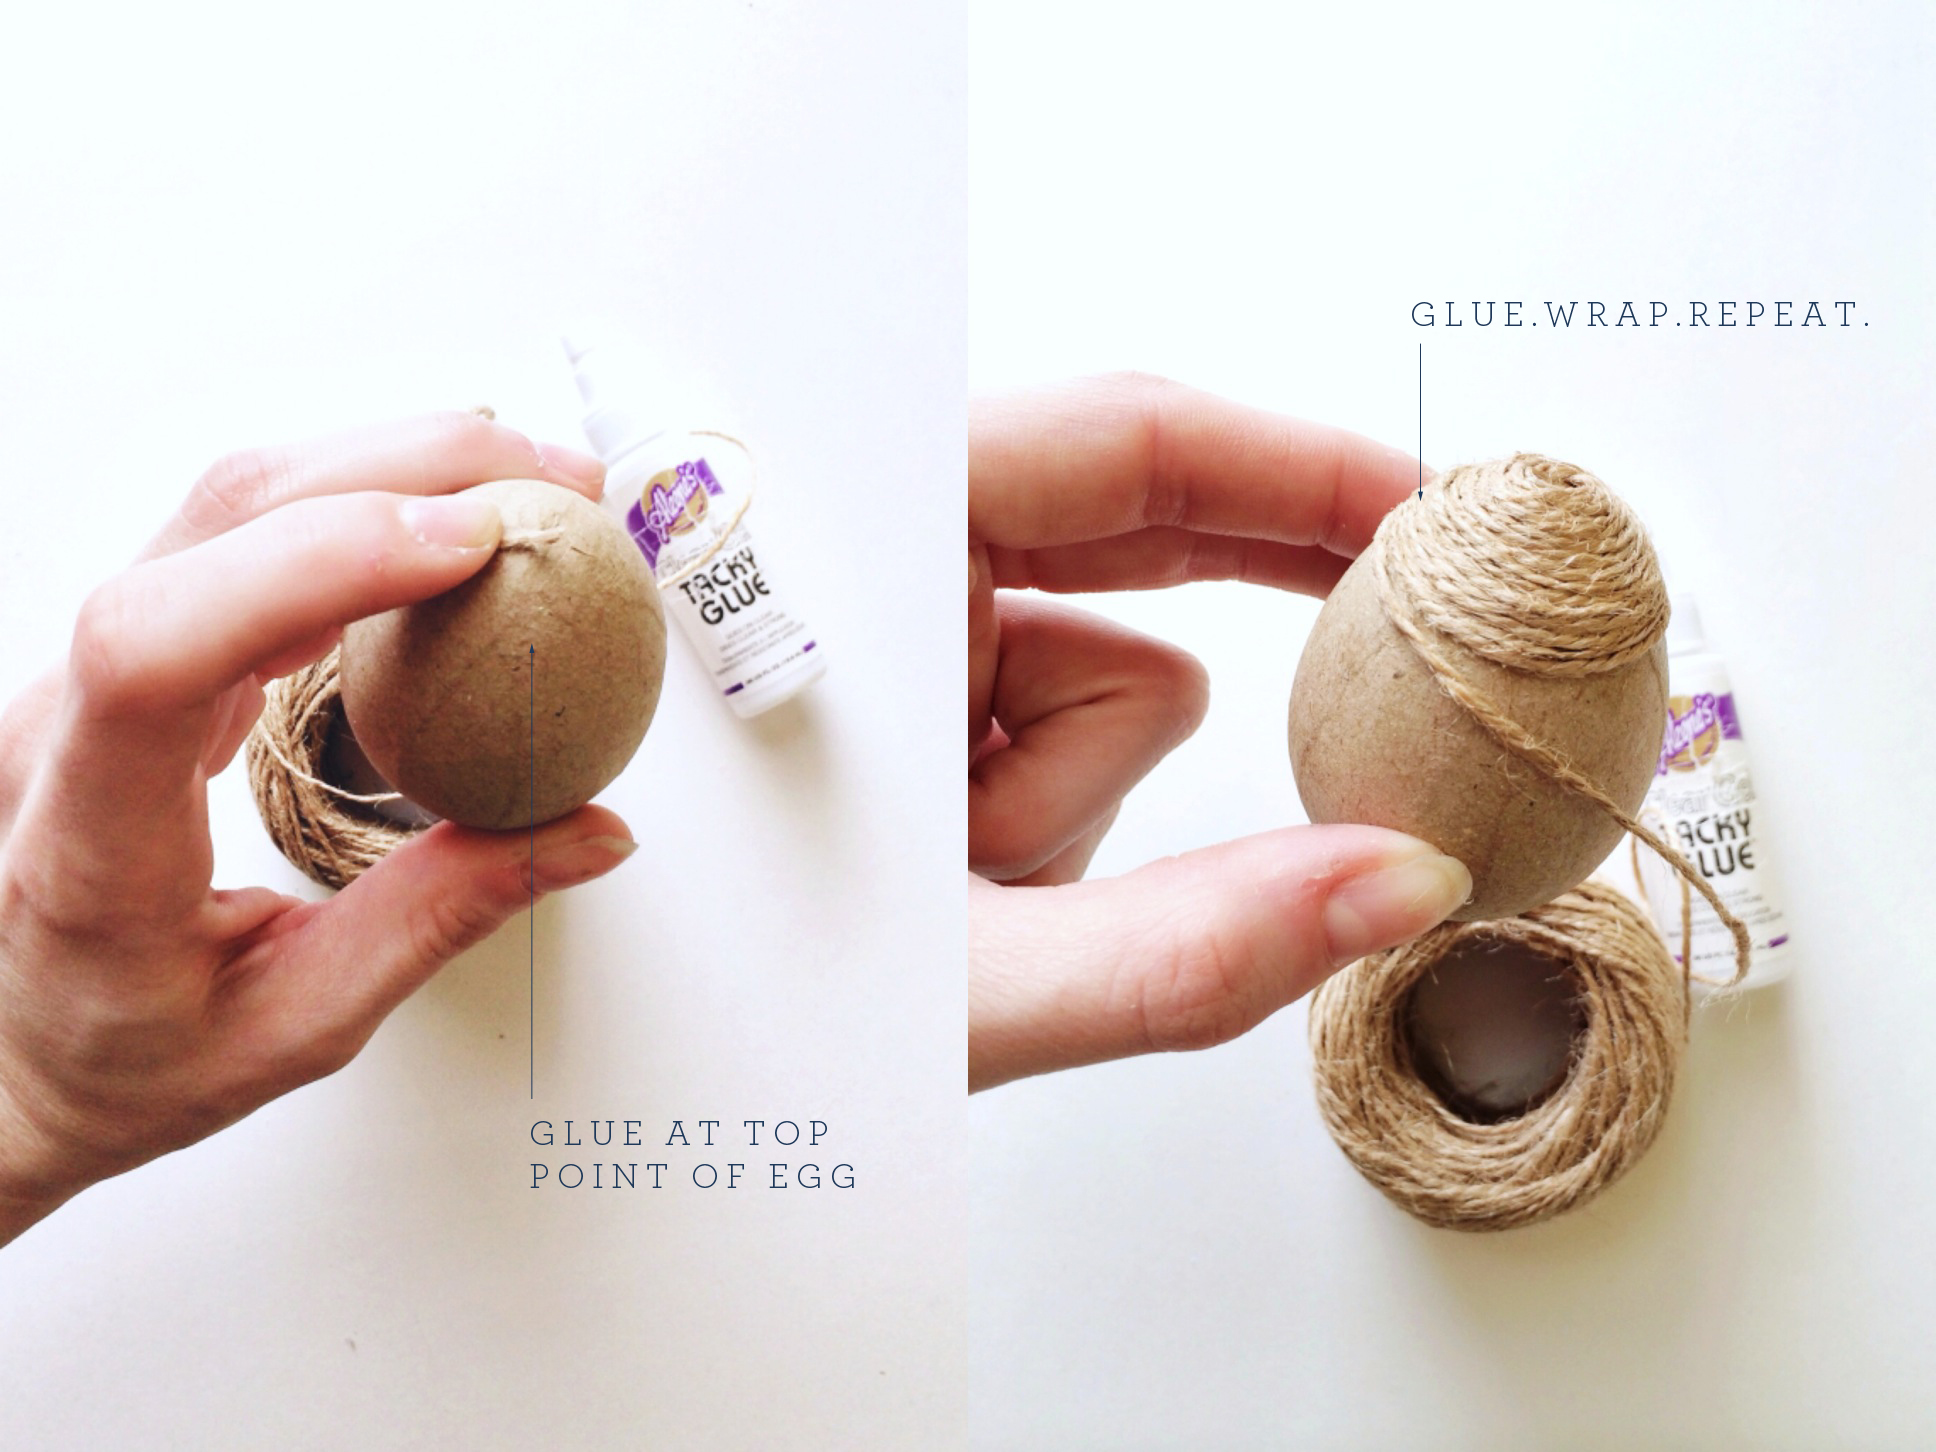
After gluing the starting point, I then put clear tacky glue (which I found to work the best) a little ways down the egg. Then wrap until you hit where there is no more glue, and repeat! Just go slow, and make sure whatever glue you're using dries clear, or you will be mighty disappointed. Like I said, my hands were continually covered in glue, which helped tame all the fly-aways on the string itself, but does become an issue if the glue from your hands starts sticking to your egg. I had to clean my hands off quite a few times mid-process. But that's the joy of crafting, isn't it?

Annnd… that's it! Just keep wrapping & gluing until you reach the bottom of the egg- then snip snip, you're all done! Once you de-glue, give yourself a big pat on the back. At least glue is easier to get off your hands than egg dye, right? Hoppy Crafting!